
Walking Trail Bettmeralp to Riederalp to Riederfurka to Moosfluh
Our first hike in the Alpine mountain region from the Bettmeralp took us up to 2333 meters above sea level.
We woke to see the sun pop up from behind the mountain range. The glow from the bed is enough to make you want to jump out and enjoy the day.
Day 1245 – July 29th, 2017
Day 2 on the Bettmeralp
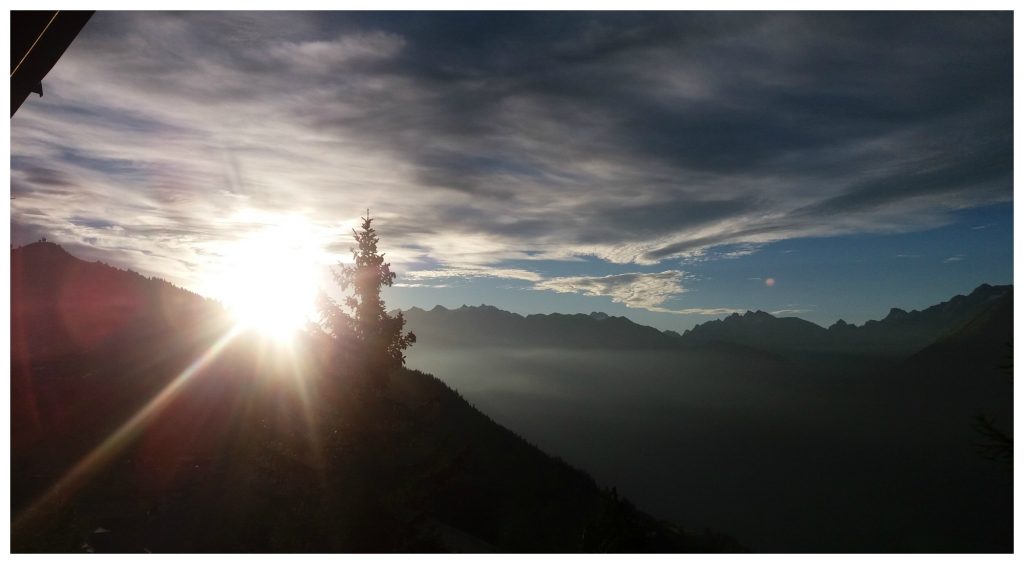
Sunrise from our chalet balcony, Bettmeralp
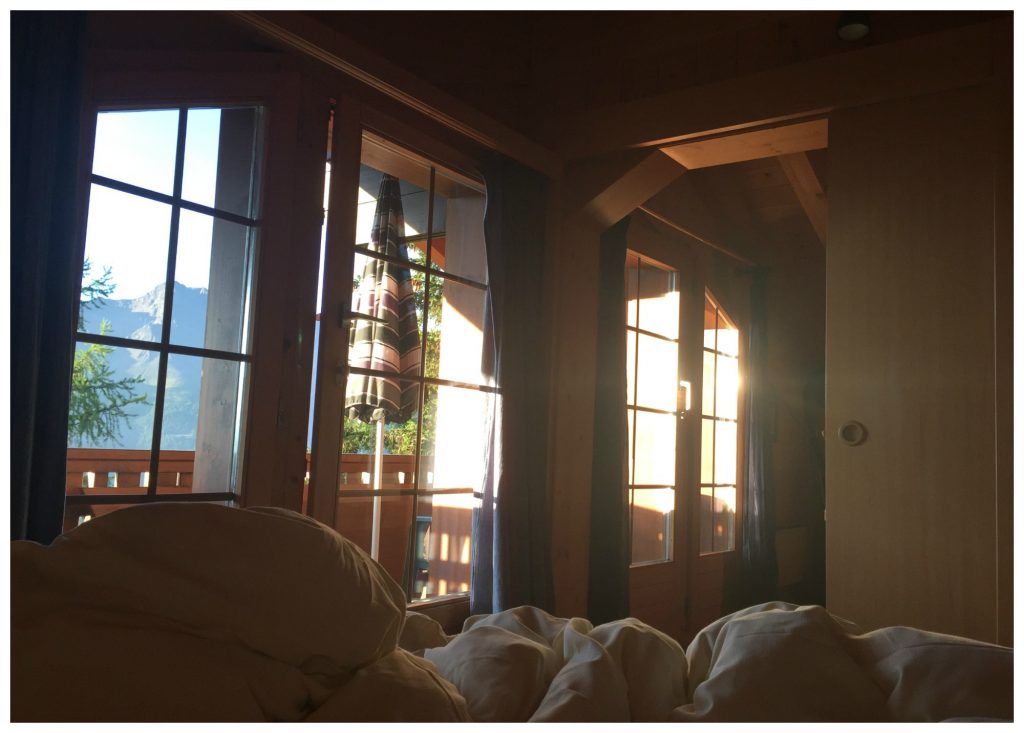
Sun glow from our bedroom in the chalet
After a light breakfast in the chalet we decided on the days walk and set off to conquer the mountains.
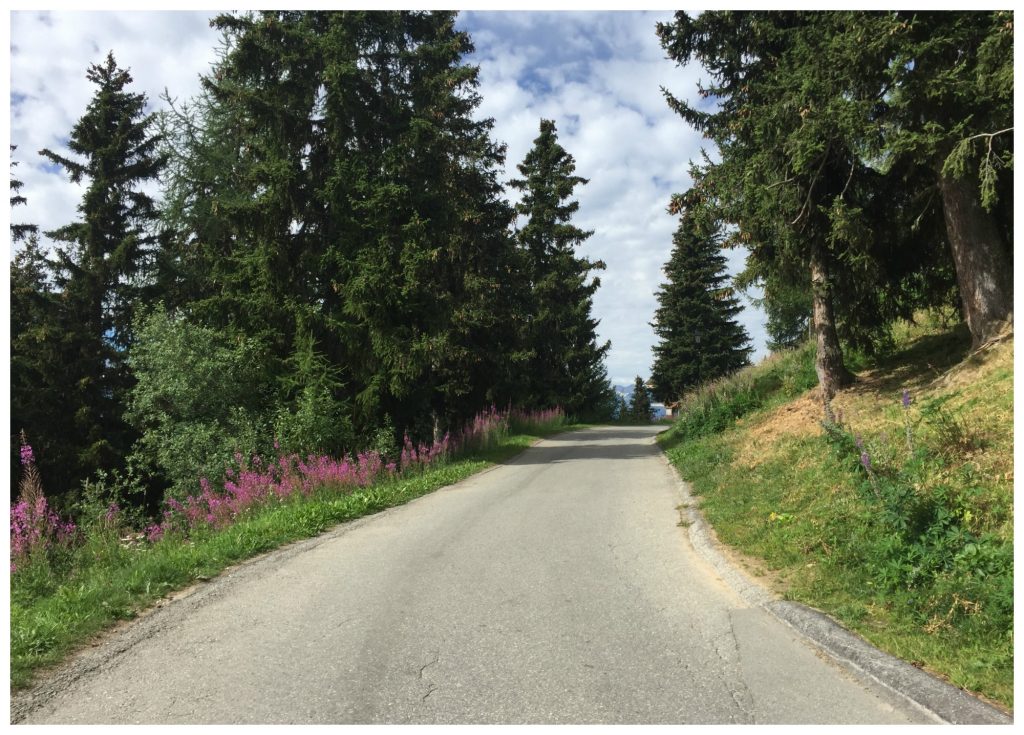
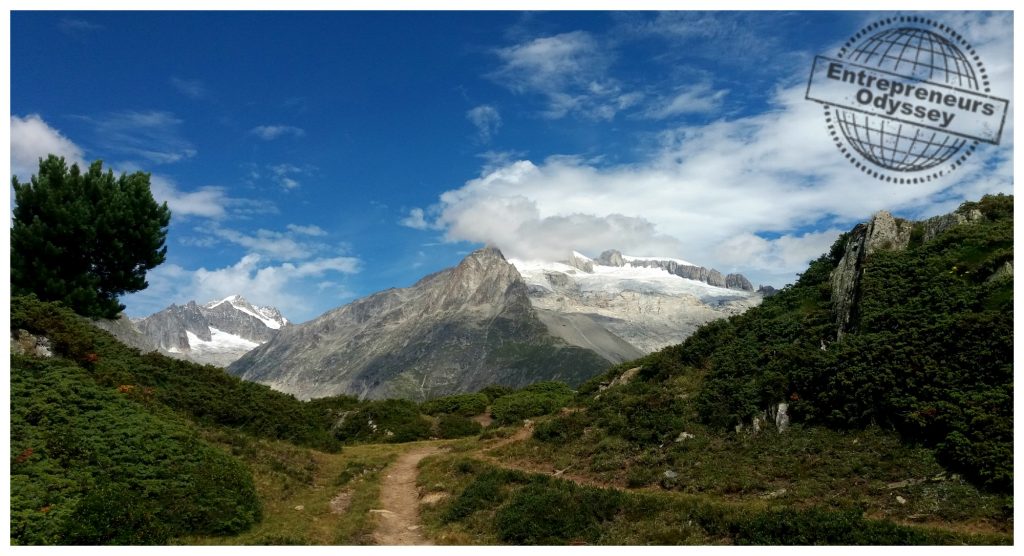
The way towards Riederalp
Riederalp is the next village to Bettmeralp and easy to walk to, about 35 minutes. On the Bettmeralp you’ll find a bus line that runs to and fro between the two villages.
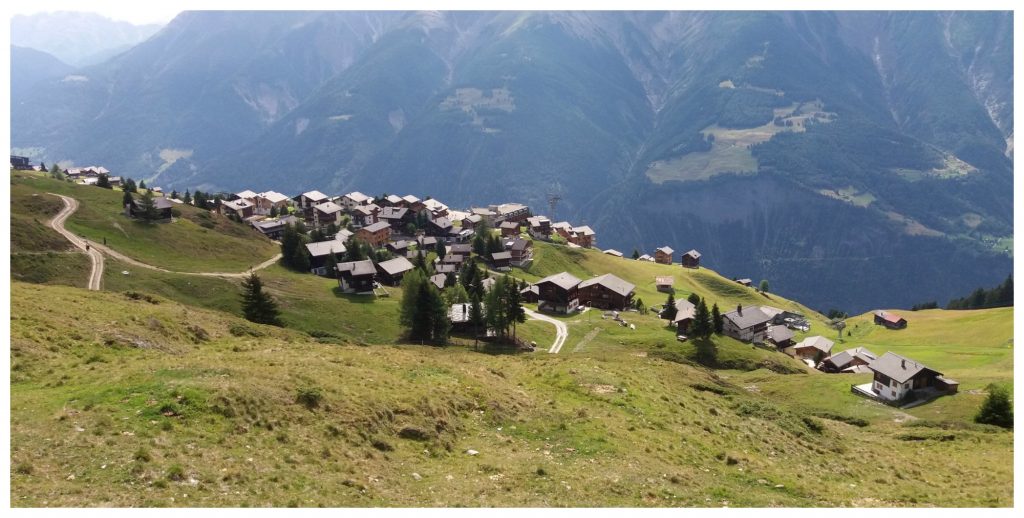
Riederalp in Wallis Switzerland
This was our first view of the village Riederalp which continues on for a reasonable distance to the left.
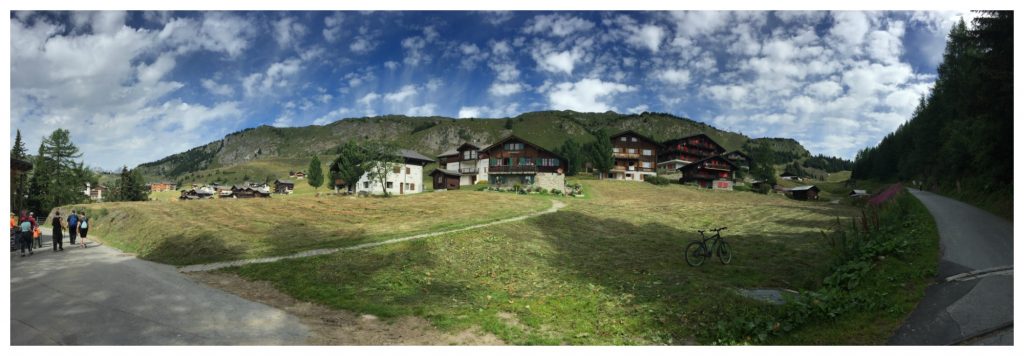
Riederalp
The entire alpine region here is stunning. The Swiss chalets, the lush green pasture, the sound of cow bells… Just close your eyes and dream a little 
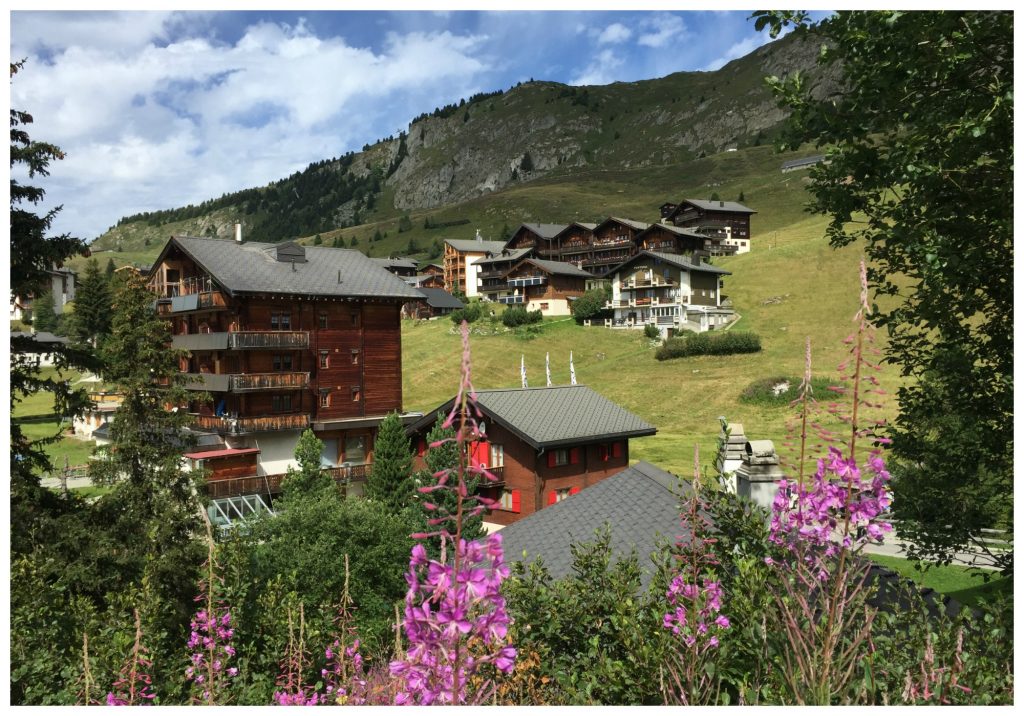
Riederalp chalets
Once we reached the Hohfluh cable car station we began the walk up. Moni’s’ sister was the leader for us as she has been many times to the area and is a very experienced hiker.
Looking down to Riederalp and up to Riederfurka
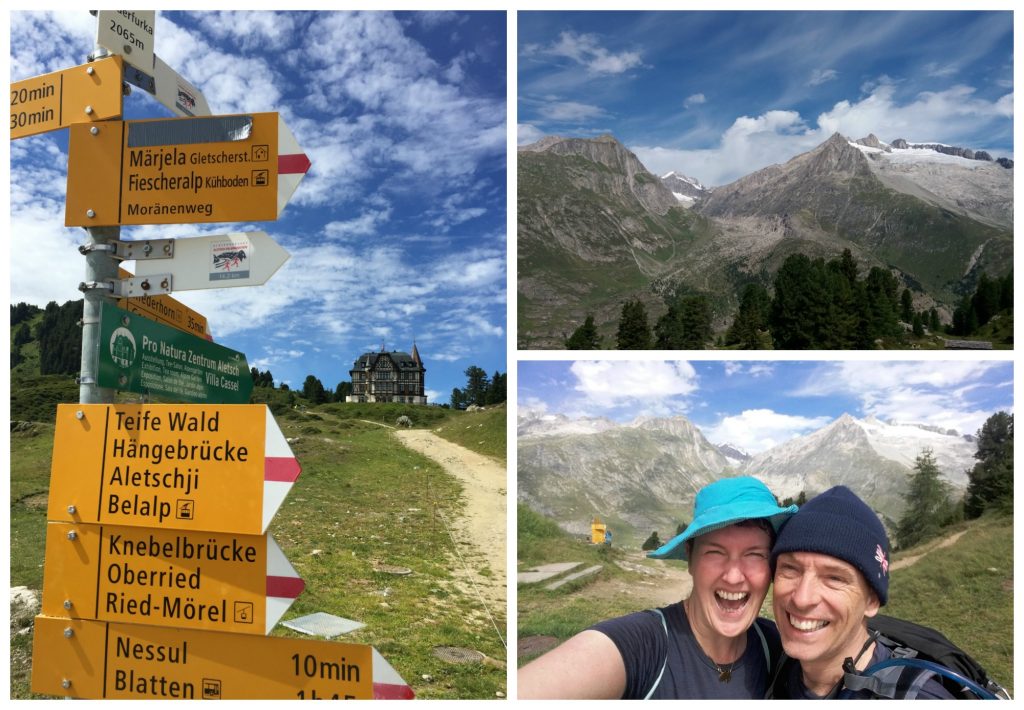
Walking up to Riederfurka & Villa Cassel
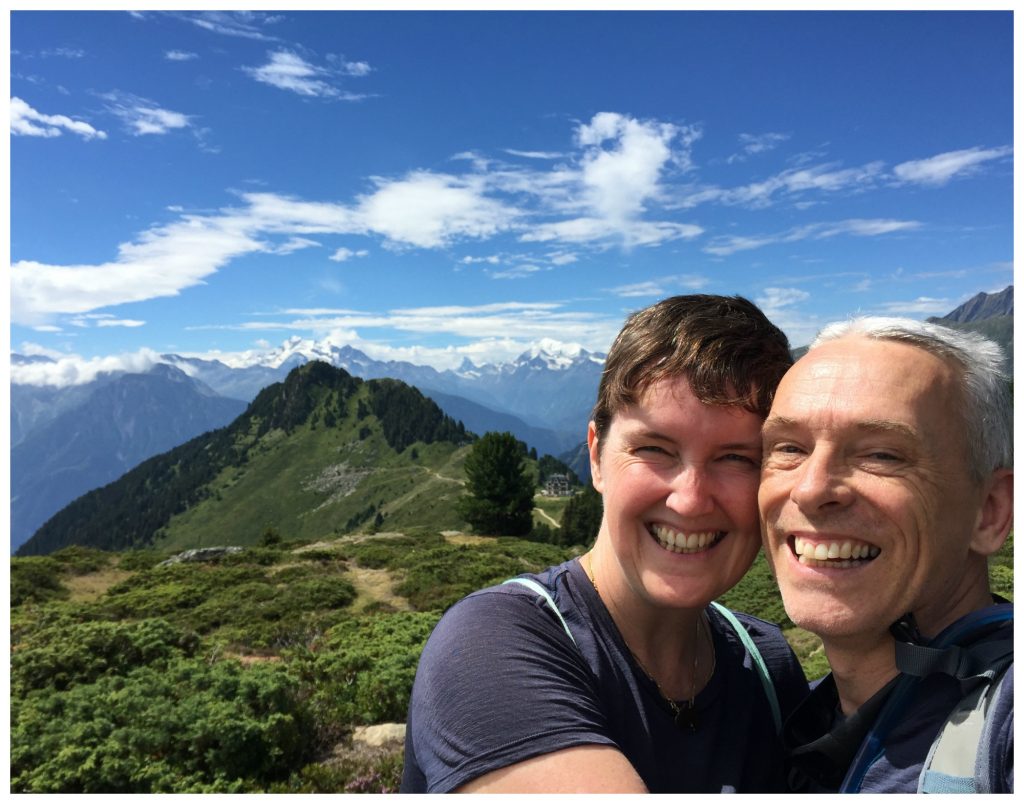
These hikes were pretty tough on us even though Brassli felt they were a stroll in the park. This was the walk up the mountain and Moni & I were buggered well before we reached the top.
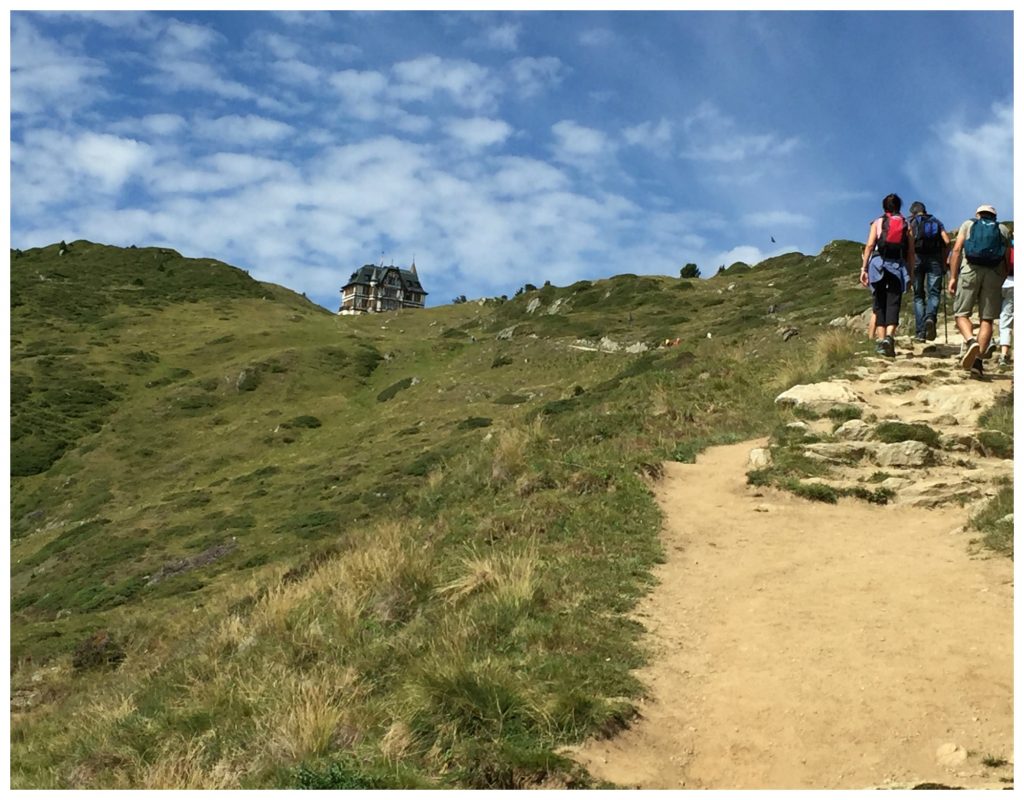
The walk up towards Villa Cassel, Riederfurka
The stunning building is the Villa Cassel which was once listed for demolition and only survived thanks to donations and a hefty 3 million investment and rebuild from Pro Natura.
You can visit the museum on the lower levels or even stay in the resort part that has 65 beds.
Onwards & upwards
A quick look back towards Riederalp before reaching the top. It might not look that far, but it was a pretty decent climb for our first alpine walk.
RiederAlp in the Aletsch Arena
Something special about the sound of cow bells
On the way up I snapped a shot of this gorgeous cow as she was chewing up the grass to the sound of her bell. Isn’t she wonderful.
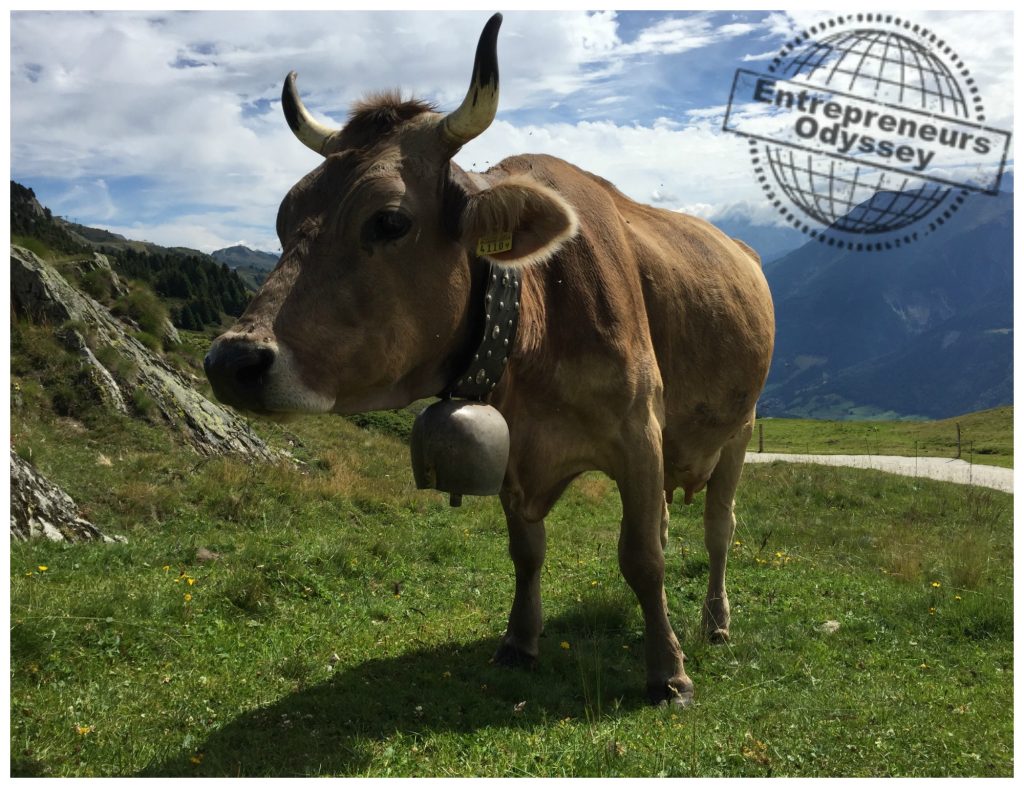
Wonderful cow on the alp in Switzerland
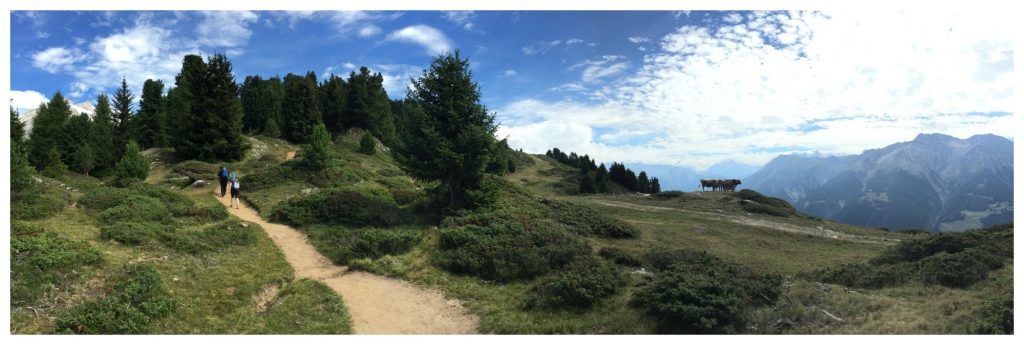
After a rest stop to eat a banana and some yummy dried mango we continued on up to the ridge at around 2200 meters over sea. We followed the path and signs towards the Aletsch Glacier.
The top of Riederfurka 2065m
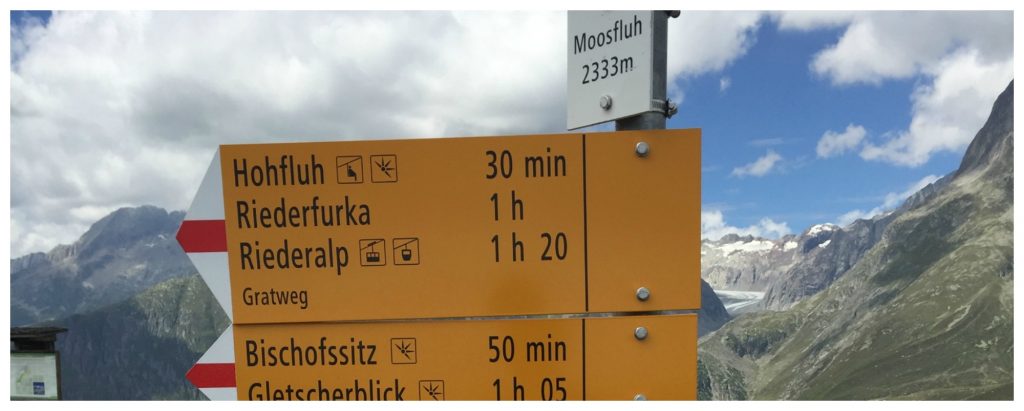
Dotted along the way there are signs which point you in the right direction, and some even have the distance in suggested times.
We had our first glimpse of the Glacier from between the trees as we continued in the direction of the Bettmerhorn.
Stunning walking trails in the Swiss Alps
This link to google maps will show you exactly how big the Aletsch Glacier is and the surrounding mountains.
First view towards the Glacier
I think is called Gletcherhorn.
First view towards the Glacier
Looking back towards the Villa Cassel we had amazing views of the Matterhorn at 4,478m which is one of the highest mountains of Switzerland, and other mountains in the distance.
Mountains all around
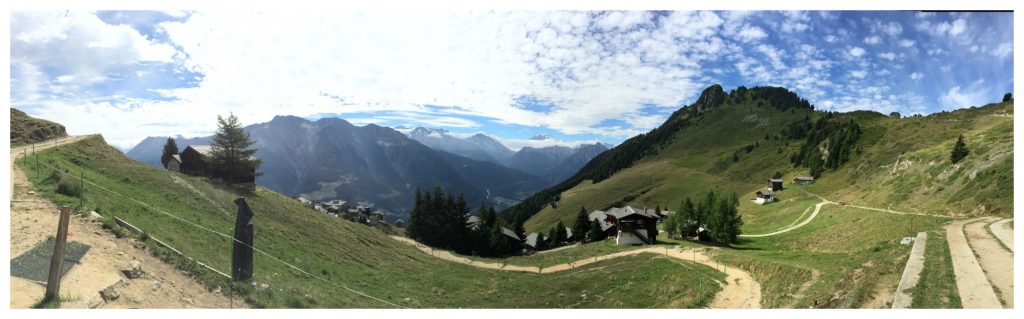
Just look at this view…
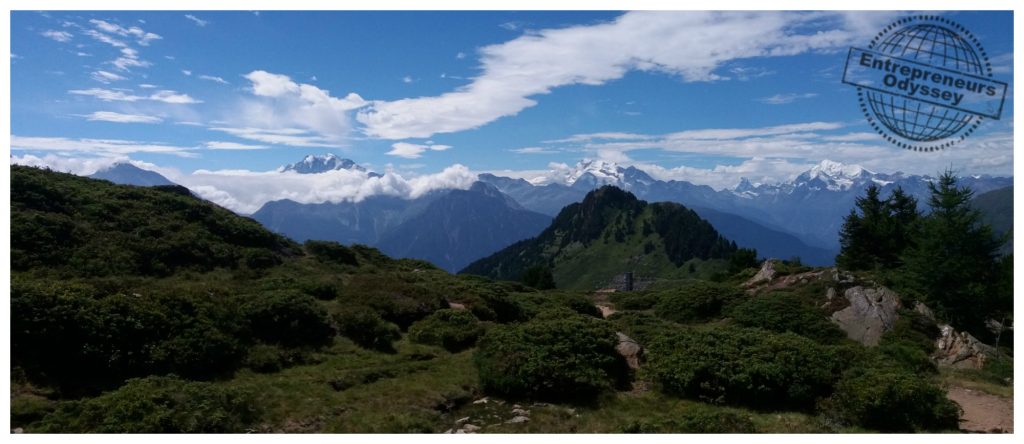
Mountain range view from Hohfluh 2227m
We are walking at roughly half the height of the Matterhorn and yet we are pretty high up.
Thankfully this was nearly at our destination for today, 40 minutes to go from this point to Moosfluh. Below we can have a view of the Glacier.
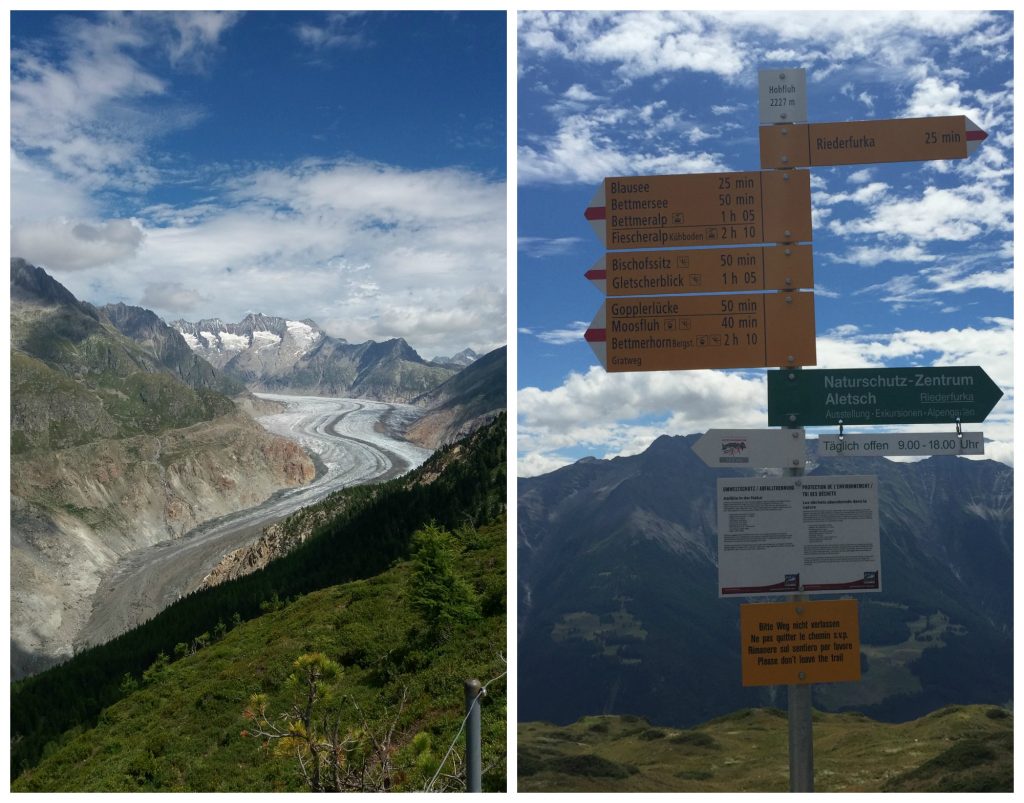
The Aletsch Glacier & walking directions
The Aletsch Glacier
Along the way we came across this photo of the mountain range, on a very clear day you could probably see all of the peaks listed in the image, WOW.
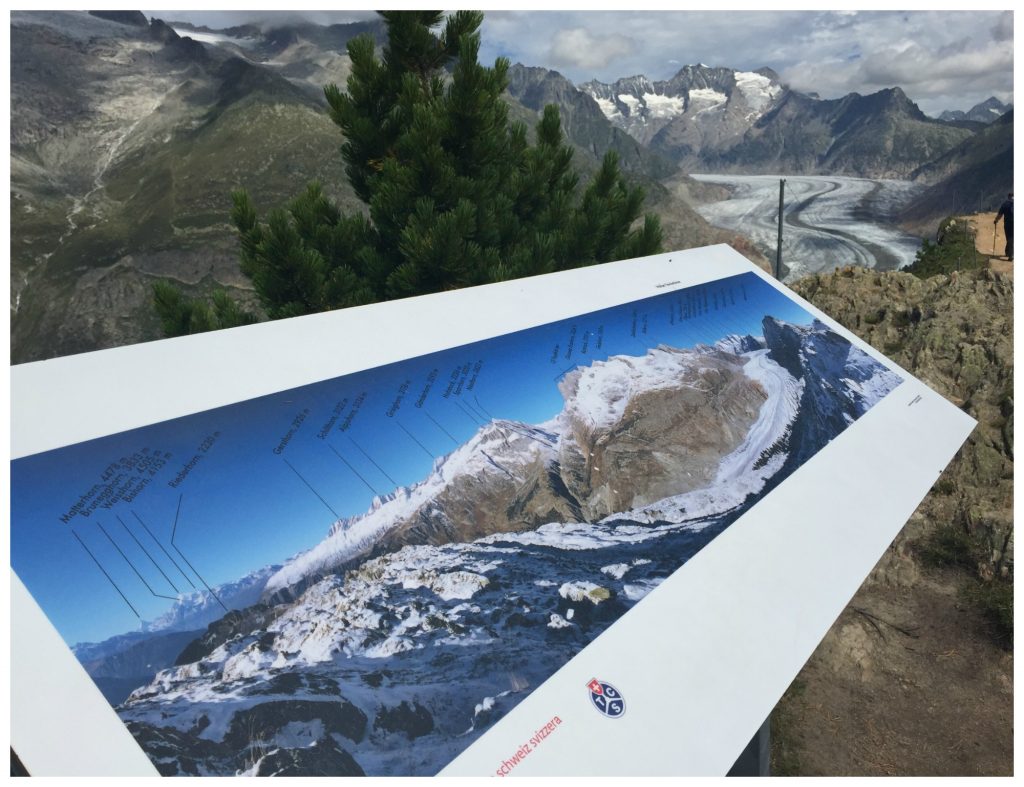
Mountain range display from the Aletsch Glacier
You can see, we still had a reasonable distance to cover to reach Moosfluh. The peak in the center of the photo below is the Bettmerhorn & Eggishorn a bit further along which we will discover on another hike.

The walking path towards the Moosfluh Gondola station
Yet another very happy peaceful cow on the Swiss Alps. I was brave enough to pose for a photo this time. Don’t get in the way of these beauties when they are walking our the trails, give them plenty of space, not like I did later in the week.
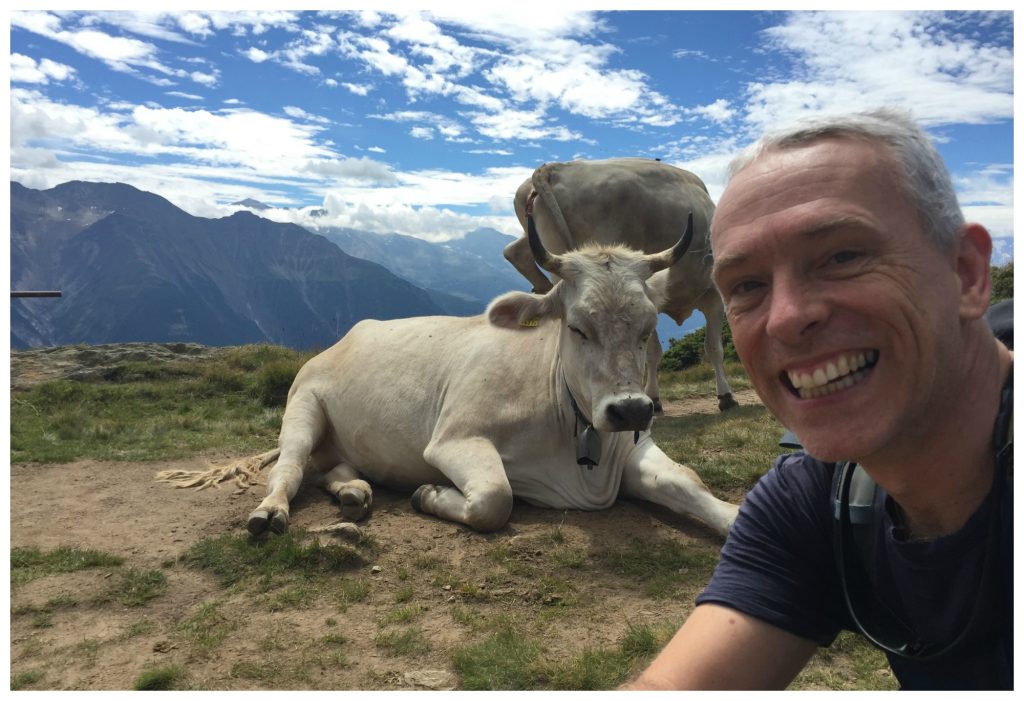
A relaxing cow on the Bettmeralp
Moosfluh peak at 2333 meters above sea
Finally we reach Moosfluh peak and the cable car station. The sign below has Riederalp listed as 1 hour and 20 minutes. which going down in the direction it points is probably right, we took around 2 hours from Riederalp to reach here.
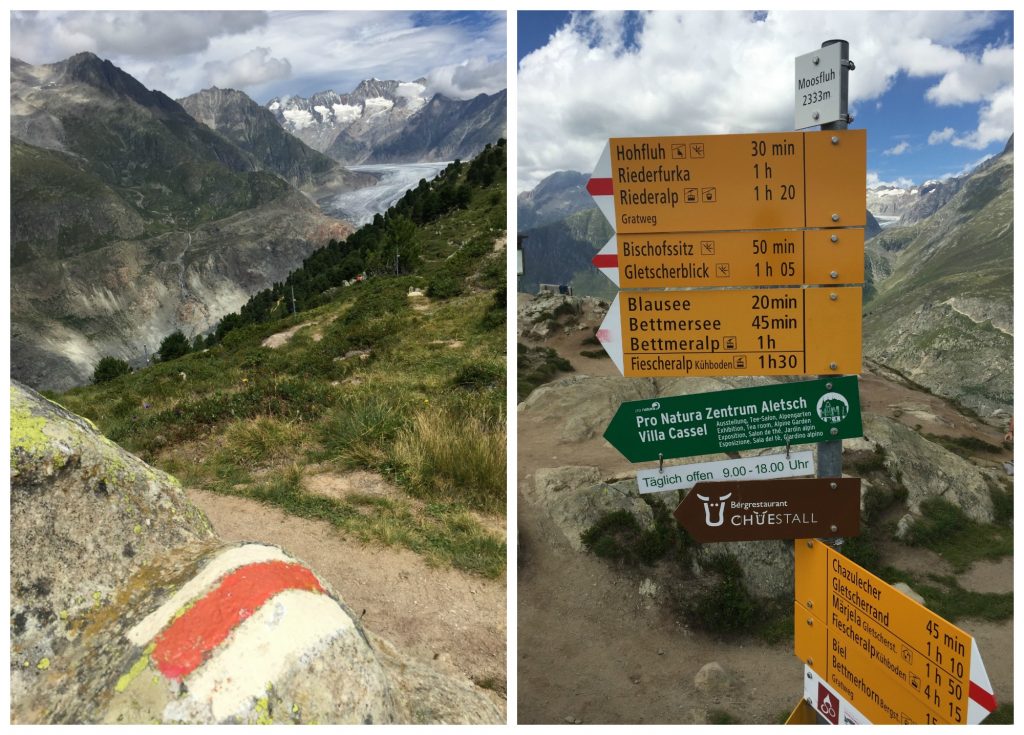
Walking signs painted on the rocks & the distances to the available routes
The best views in the mountains
It’s always good to turn around as some of the best views are often behind where you have just come from.
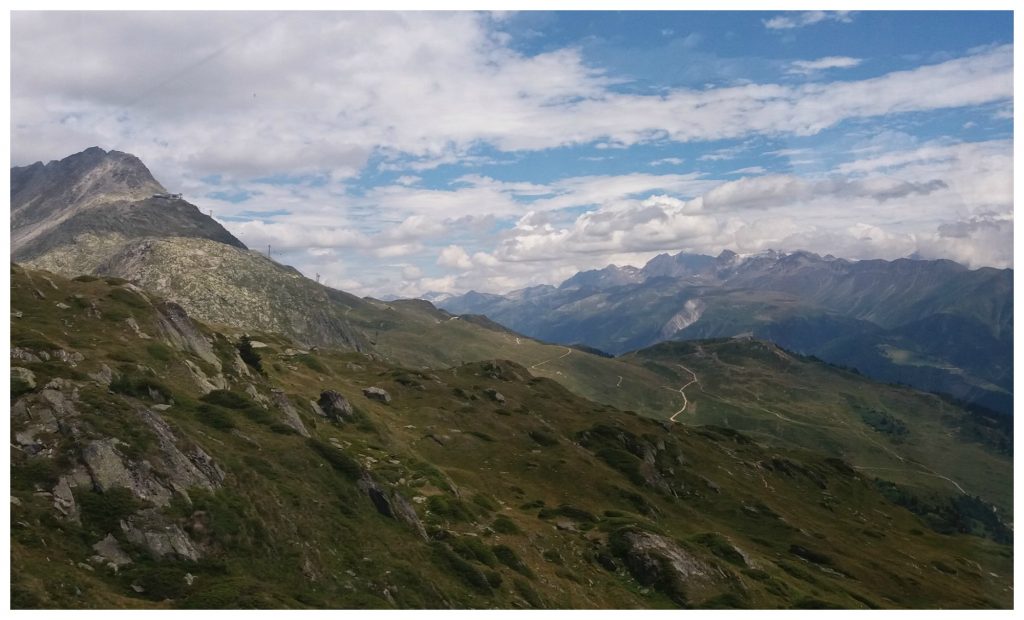
Looking back towards Hohfluh
I tried a few panorama photos and even though they are good, it just doesn’t do the area justice. Later, on one of our walks you will see some statistics of the Aletsch Glacier.
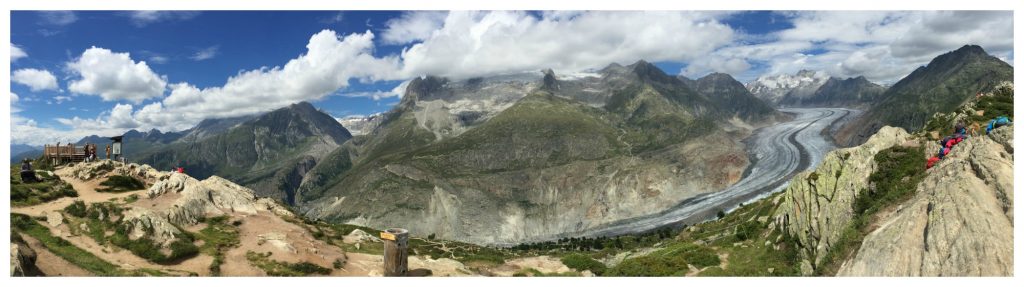
Aletsch Glacier as seen from Mossfluh
Aletschgletscher wow
We sat here for a while and enjoyed some more of our snacks all the time looking towards the Glacier.
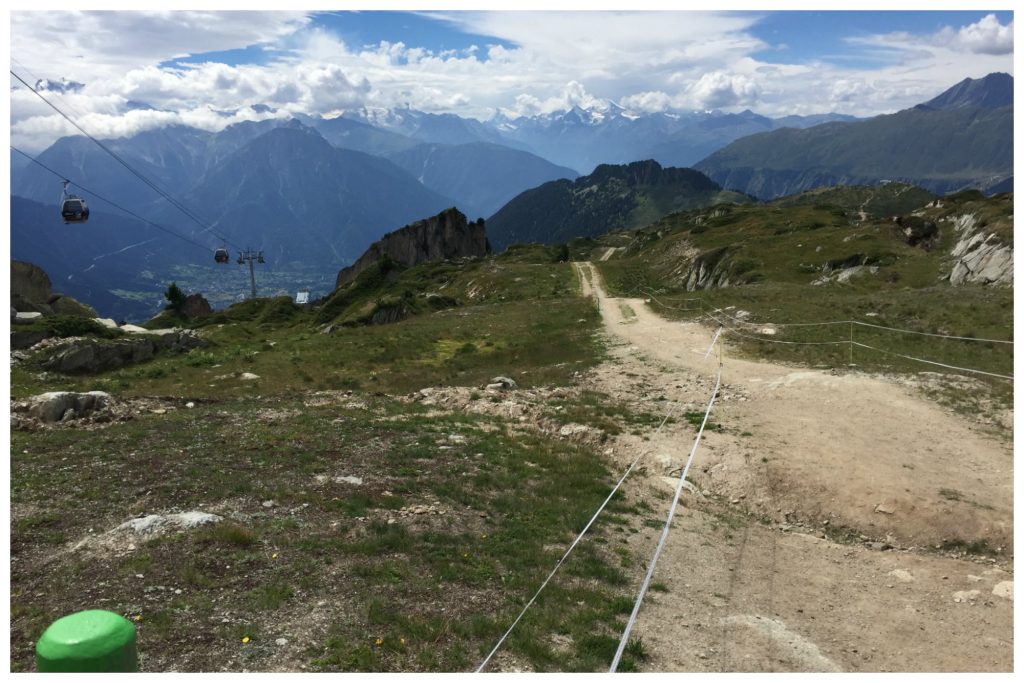
We decided not to continue onto the Bettmerhorn today but rather call it quits and return to base via the Moosfluh gondola.
This entire area is a huge ski region in the alps and will be covered in snow from around November onwards. Try to imagine how this would all look covered in powdery white snow.
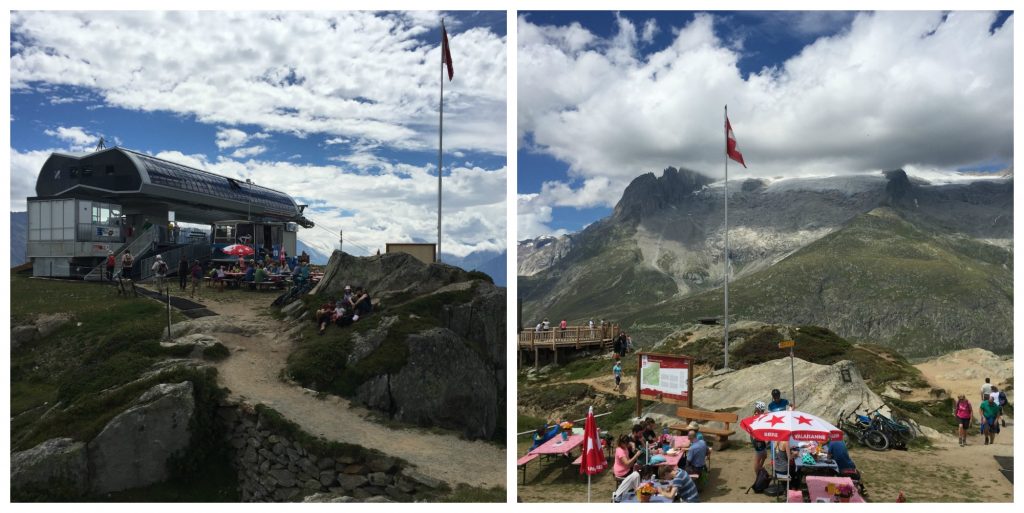
Moosfluh gondola station
This photo shows that we still had a big distance to cover if we were to reach the Bettmerhorn. You can just make out the cable car up to the top station at 2872 meters above sea.
The view over to the Bettmerhorn from Moosfluh gondola
Moosfluh cable car ride down
Going down you get views over the Bettmeralp and Bettmersee to the left and Riederalp to the right.
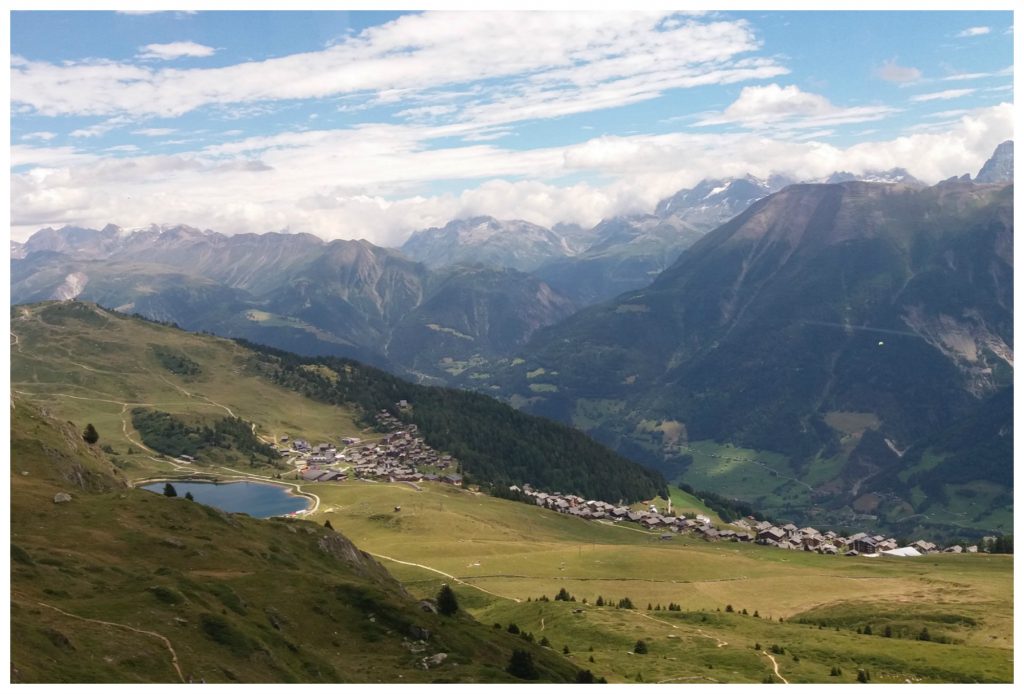
Looking down over the Bettmeralp & Bettmersee
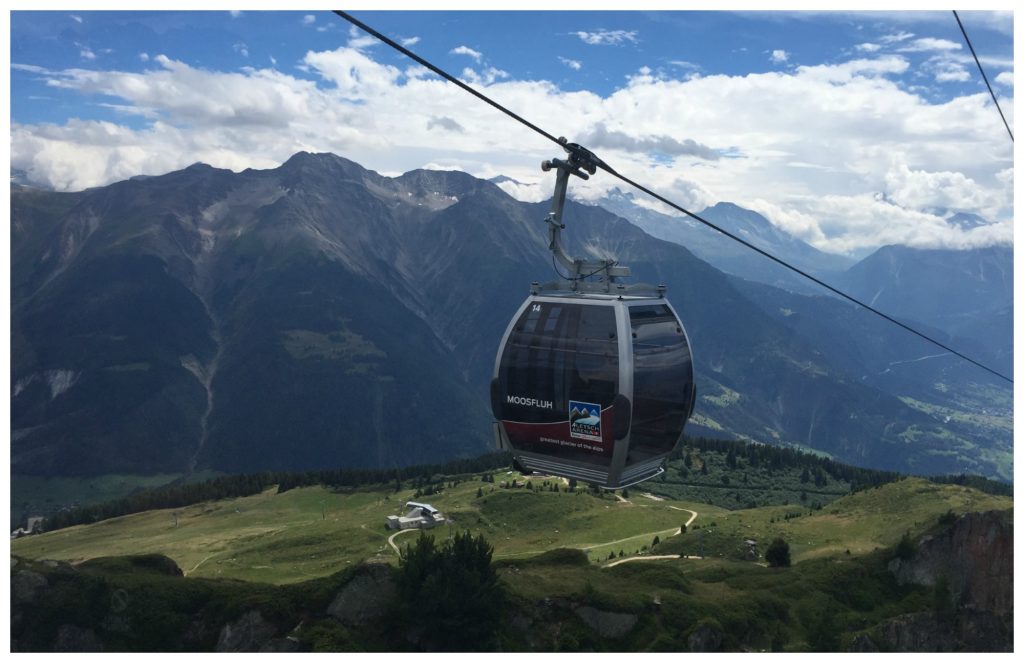
Moosfluh Gondola
Just before the middle station on the gondola run is the Bergrestaurant Chüestal which has a wonderful position basting in glorious sunshine. We walked up to here on another hike where we then enjoyed lunch.

View to the Bergrestaurant Chüestal Riederalp
We continue down with the cable car, this view after the middle station still shows how high we were even at half way!
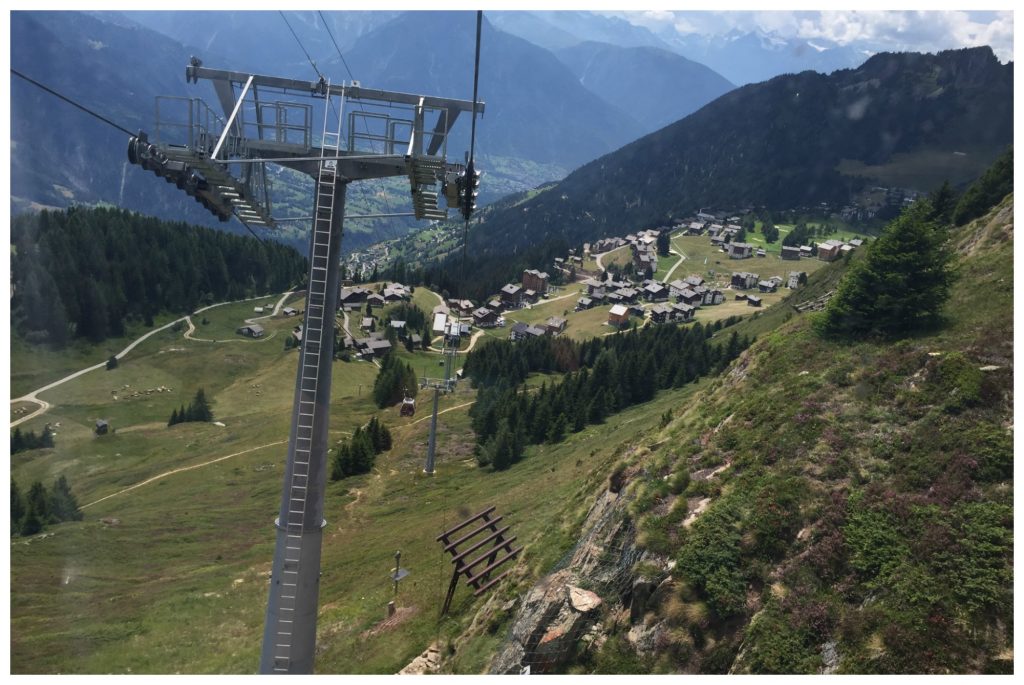
Moosfluh gondola down to Riederalp base
Eventually we vacate the cable car at the base station and walk back to our chalet.
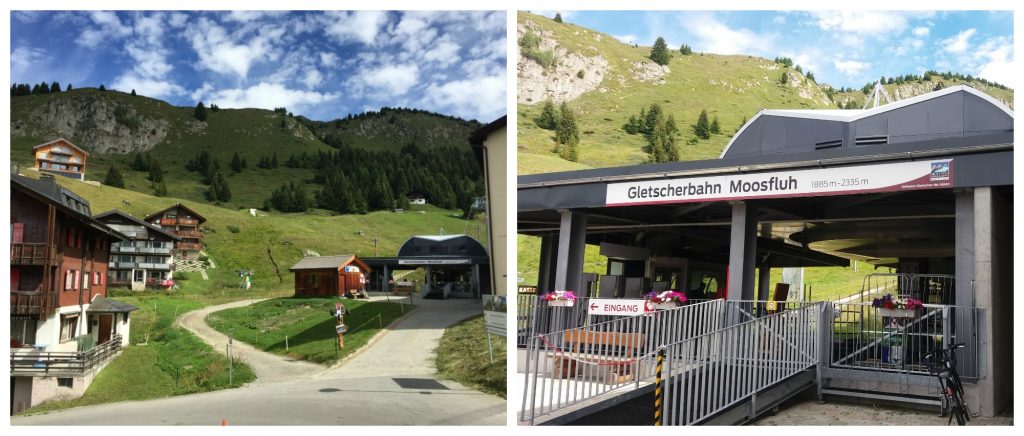
Moosfluh Gletscherbahn from Riederalp base
That evening the skies darkened and the rain came in.
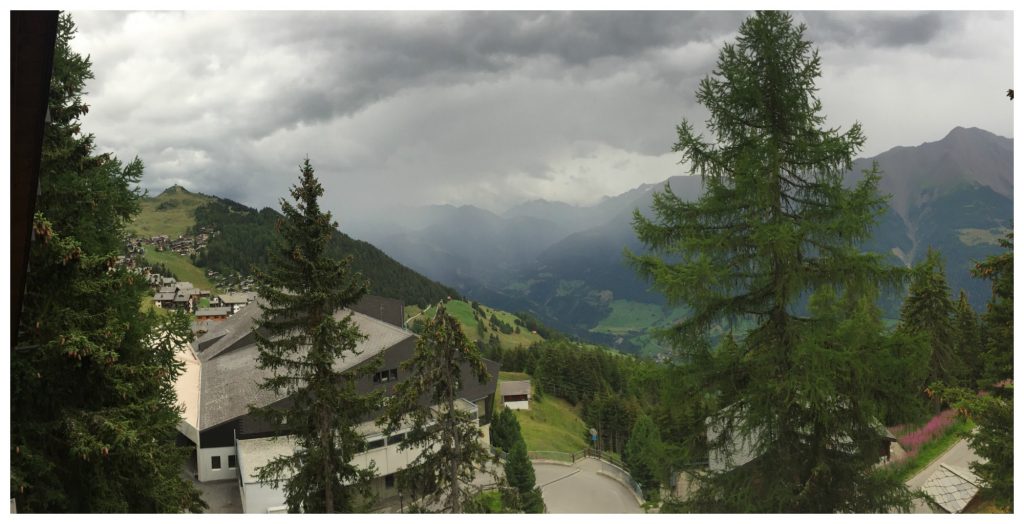
Rain moving in towards the Bettmeralp
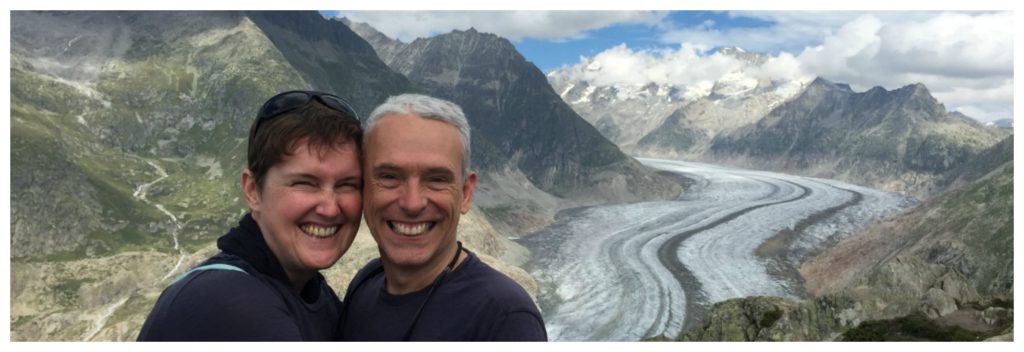
Moni & I were pleased with our hike yet happy to be home and able to put the feet up for a while before dinner.
My update from this walk in the alpine region has come to an end and I hope that you got some perspective from it. Please join me again for the next update.


Trackbacks/Pingbacks
[…] Coop for provisions before heading back to the Chalet to settle in and discuss the plans for our first hike in the Swiss Alps […]
[…] Today our walk was up to Moosfluh. A different direction from the first day’s walk from Riederfurka to Moosfluh. […]